
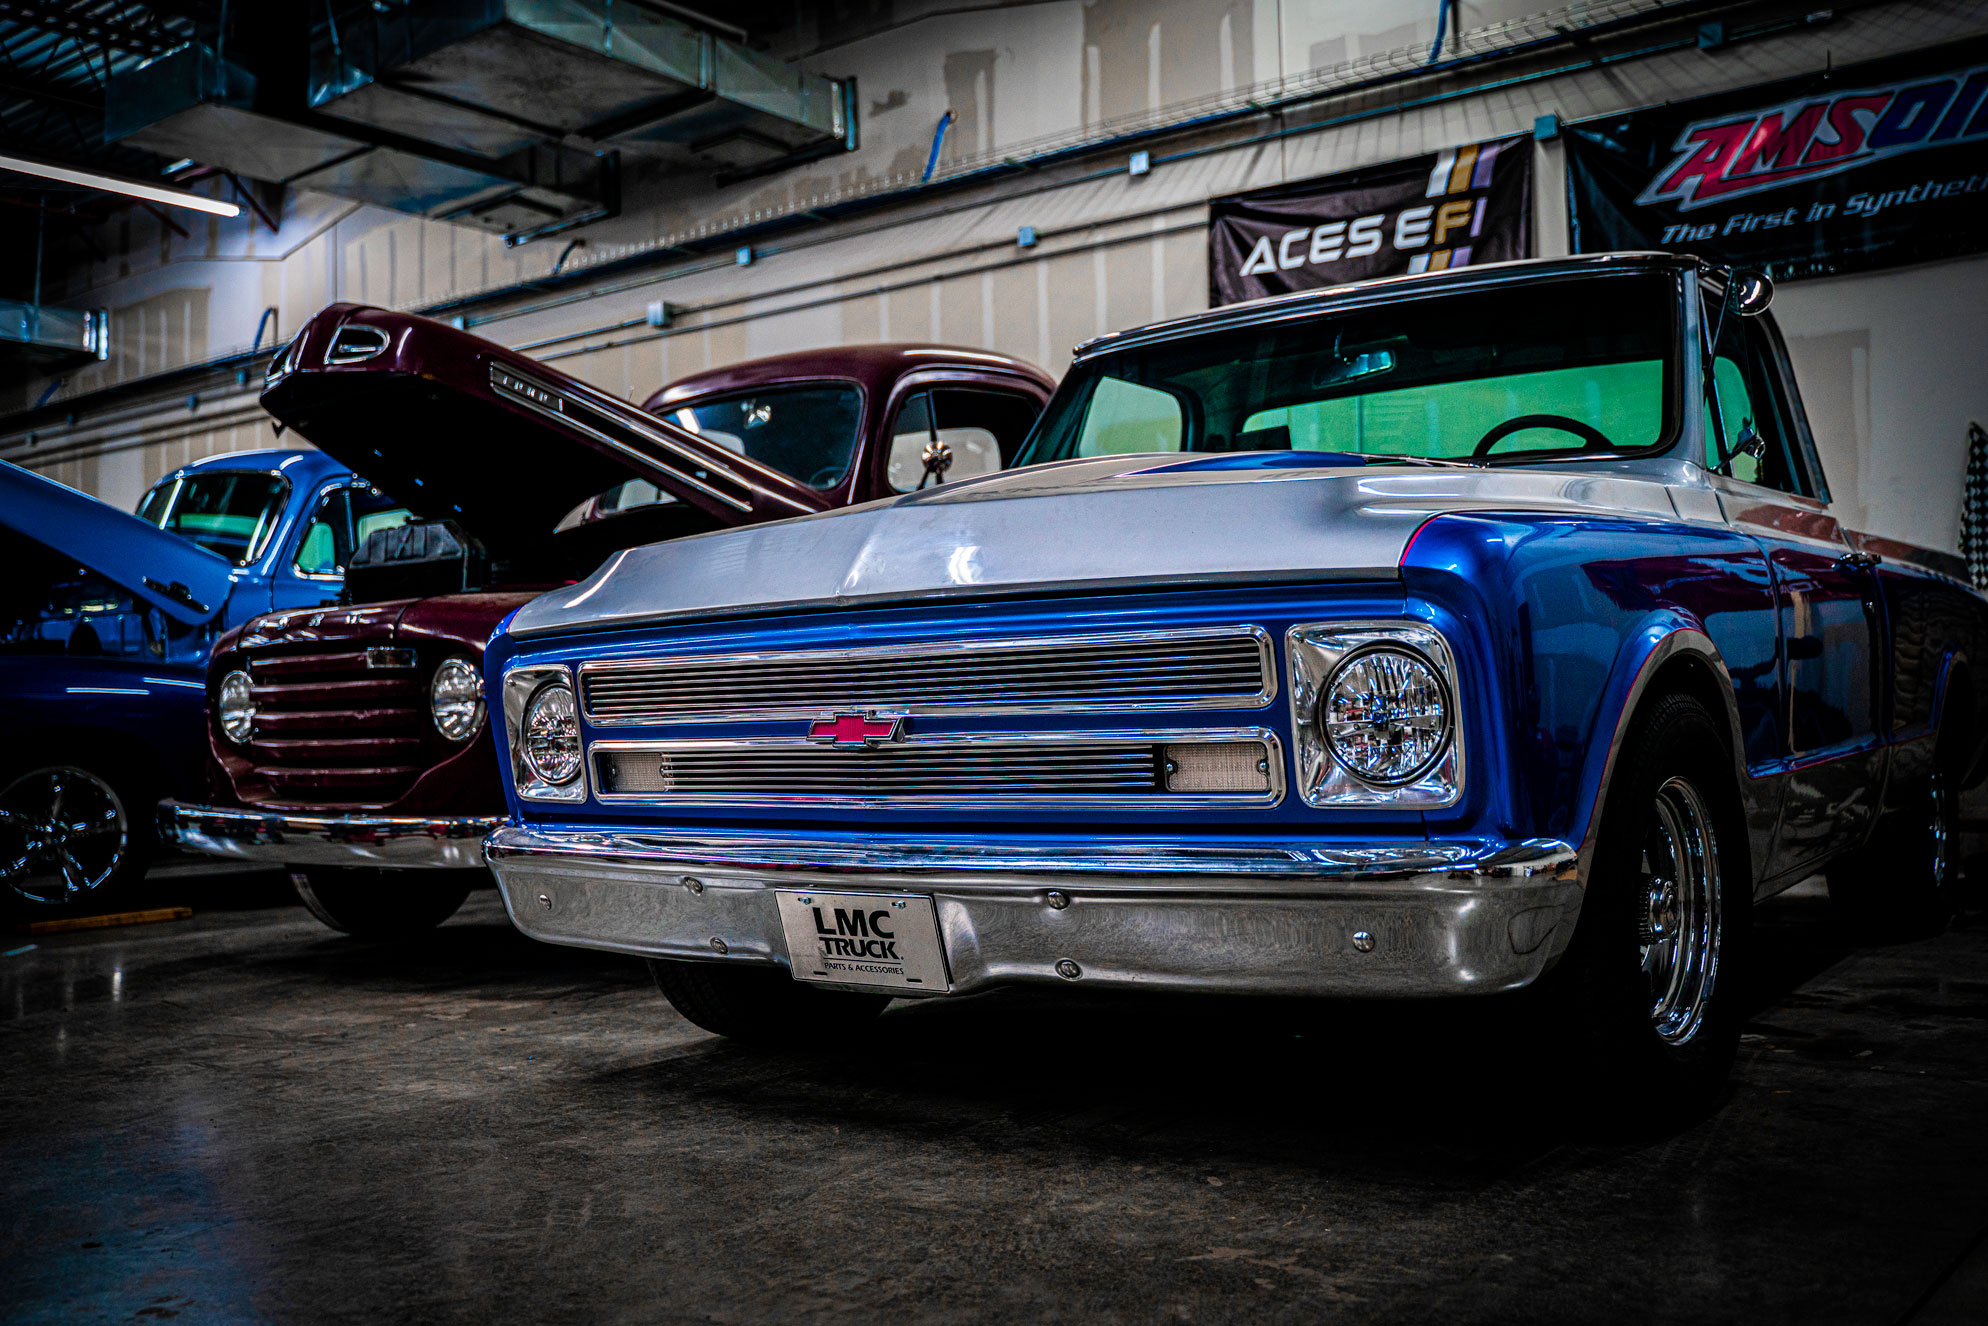
From the LMC Garage
Installing ACES Killshot Fusion EFI On Two Classic C10s
What we learned bringing modern EFI to a 1967 C10 with a 327 and a 1985 C10 with a 305 — including the things we got wrong along the way.
There’s something great about an old Chevrolet small-block. They’re simple, familiar, and have been keeping classic trucks moving for generations. But that doesn’t mean we can’t make them better.
When we decided to bring modern fuel injection to two classic C10s, we wanted a system that offered modern engine management without taking away what made these trucks fun in the first place. We wanted something affordable, capable, customizable and backed by solid technical support. That search led us to ACES EFI and the Killshot Fusion.
Our two test subjects were Cujo, a 1985 C10 with a 305 and 700R4 automatic, and Lowla, a 1967 C10 powered by a 327 small-block and four-speed manual. The installations taught us plenty, not because we ever doubted the EFI system, but because installing modern engine management on a decades-old truck has a way of uncovering problems you didn’t know were there.
On Lowla, the Fusion eventually helped lead us to one of our biggest issues: a leaking brake booster that had been sitting for more than a decade.
Here’s what we learned along the way.
Why ACES EFI?
Why ACES EFI?
We originally discovered ACES while researching standalone EFI options for an LS application. That led us deeper into their product line and eventually to the Killshot Fusion throttle-body system.
The combination immediately stood out. ACES offered an impressive amount of capability at a competitive price point, along with automotive-grade electronics, extensive tuning capability and a strong selection of technical resources. Support was another major factor. EFI conversions can involve far more than the throttle body itself, especially when you’re dealing with vehicles that have accumulated decades of modifications and repairs. Having good documentation and technical support available when you need it makes a difference.
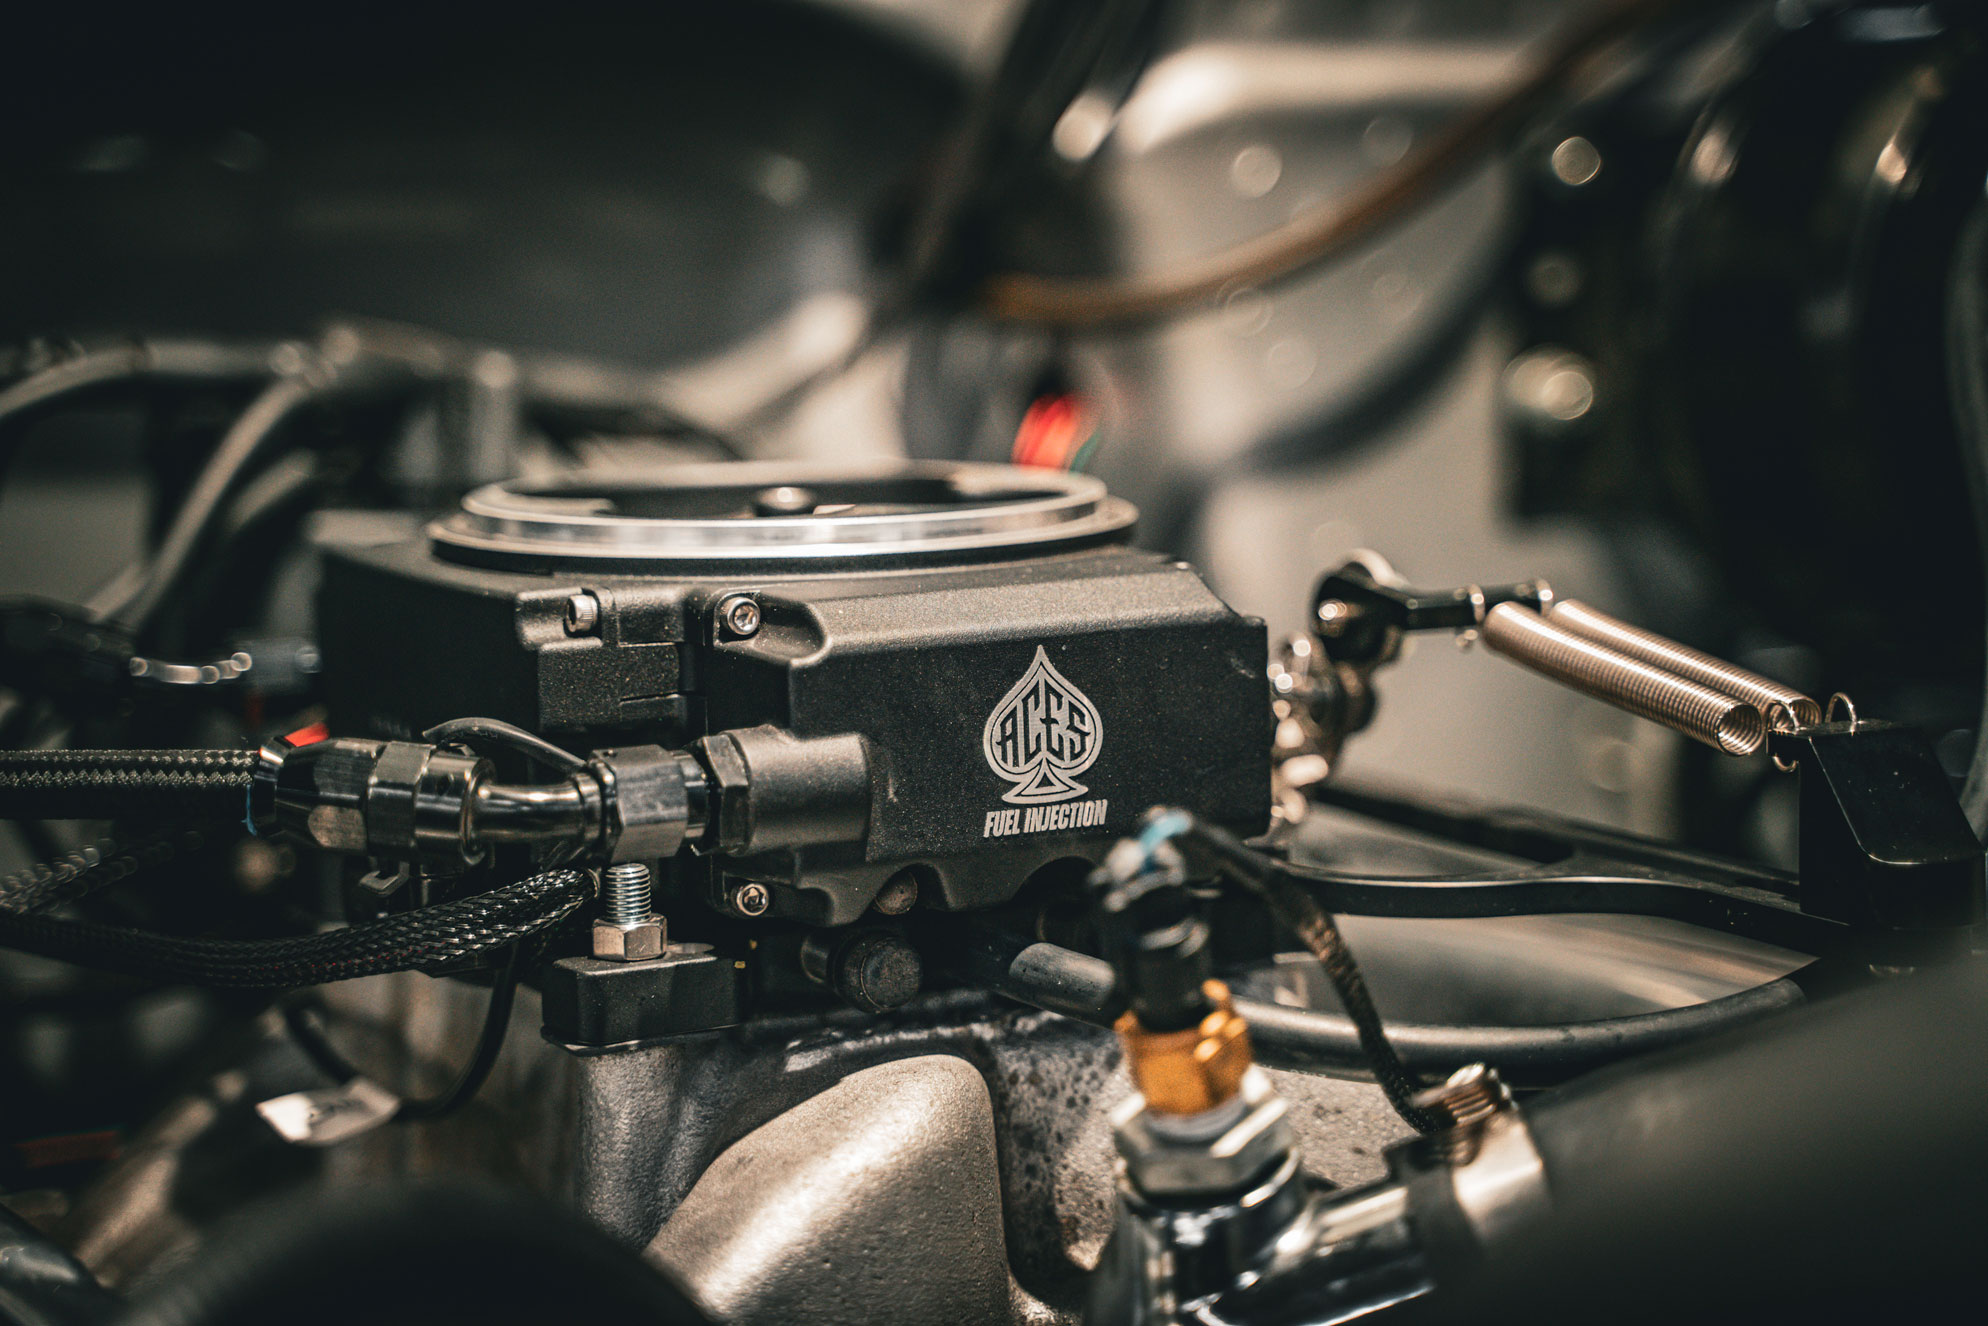
The Fusion also packages the ECU directly into the throttle body, helping keep the installation clean while still offering plenty of control and expandability. For a classic truck that may be a weekend cruiser, show truck or occasional driver, that combination made a lot of sense to us.
See ACES EFI at LMC Truck
Explore the Killshot Fusion, fuel-delivery and ignition options available for your truck.
Explore ACES EFI →The Install Begins
Start With the Right Foundation
Before installing anything, make sure the truck is ready for it. The Killshot Fusion uses a 4150-style four-barrel mounting pattern, and our two trucks were a good example of why you should check that before ordering parts.
Lowla’s 327 already had the correct intake, so installation was essentially a matter of removing the old EFI system and mounting the Fusion. Cujo still had a factory-style TBI intake, which meant replacing the intake with one that accepted the 4150 pattern before installing the new throttle body. While you’re checking the intake, it’s also worth looking at throttle linkage, air-cleaner clearance and everything else you’ll need before tearing the truck apart.
Fuel Delivery
Building the Fuel System
The fuel system was one area where taking our time really paid off. The ACES inline fuel kit gave us everything needed, including an inline pump, pre- and post-pump filters, AN fittings, plenty of fuel hose and, importantly, an adjustable fuel-pressure regulator.
Pump placement is important with an inline system. We mounted the fuel pump low as possible and close to the tank so fuel could gravity-feed the inlet side of the pump as much as possible. ACES recommends mounting the pump low and near the tank, with the coarse pre-filter between the tank and pump and the finer 10-micron filter after the pump. This is one of those areas where planning your routing before cutting hose can save a lot of work later.
When cutting and assembling AN hose, measure several times before making the cut. We wrapped the hose at the cut point with electrical tape to help prevent fraying and used AN wrenches during assembly. Standard wrenches can work, but the proper tools make the job easier and help keep those new fittings looking new.
Once everything is assembled, don’t just look at the fittings and assume they’re sealed. Reconnect the battery and key the system on to allow the fuel pump to prime and pressurize the system. ACES’ procedure calls for the pump to run for approximately five seconds during the initial key-on. With the system pressurized, carefully inspect every fitting, connection, filter, regulator and fuel line for leaks. Fix anything you find before attempting to start the engine.
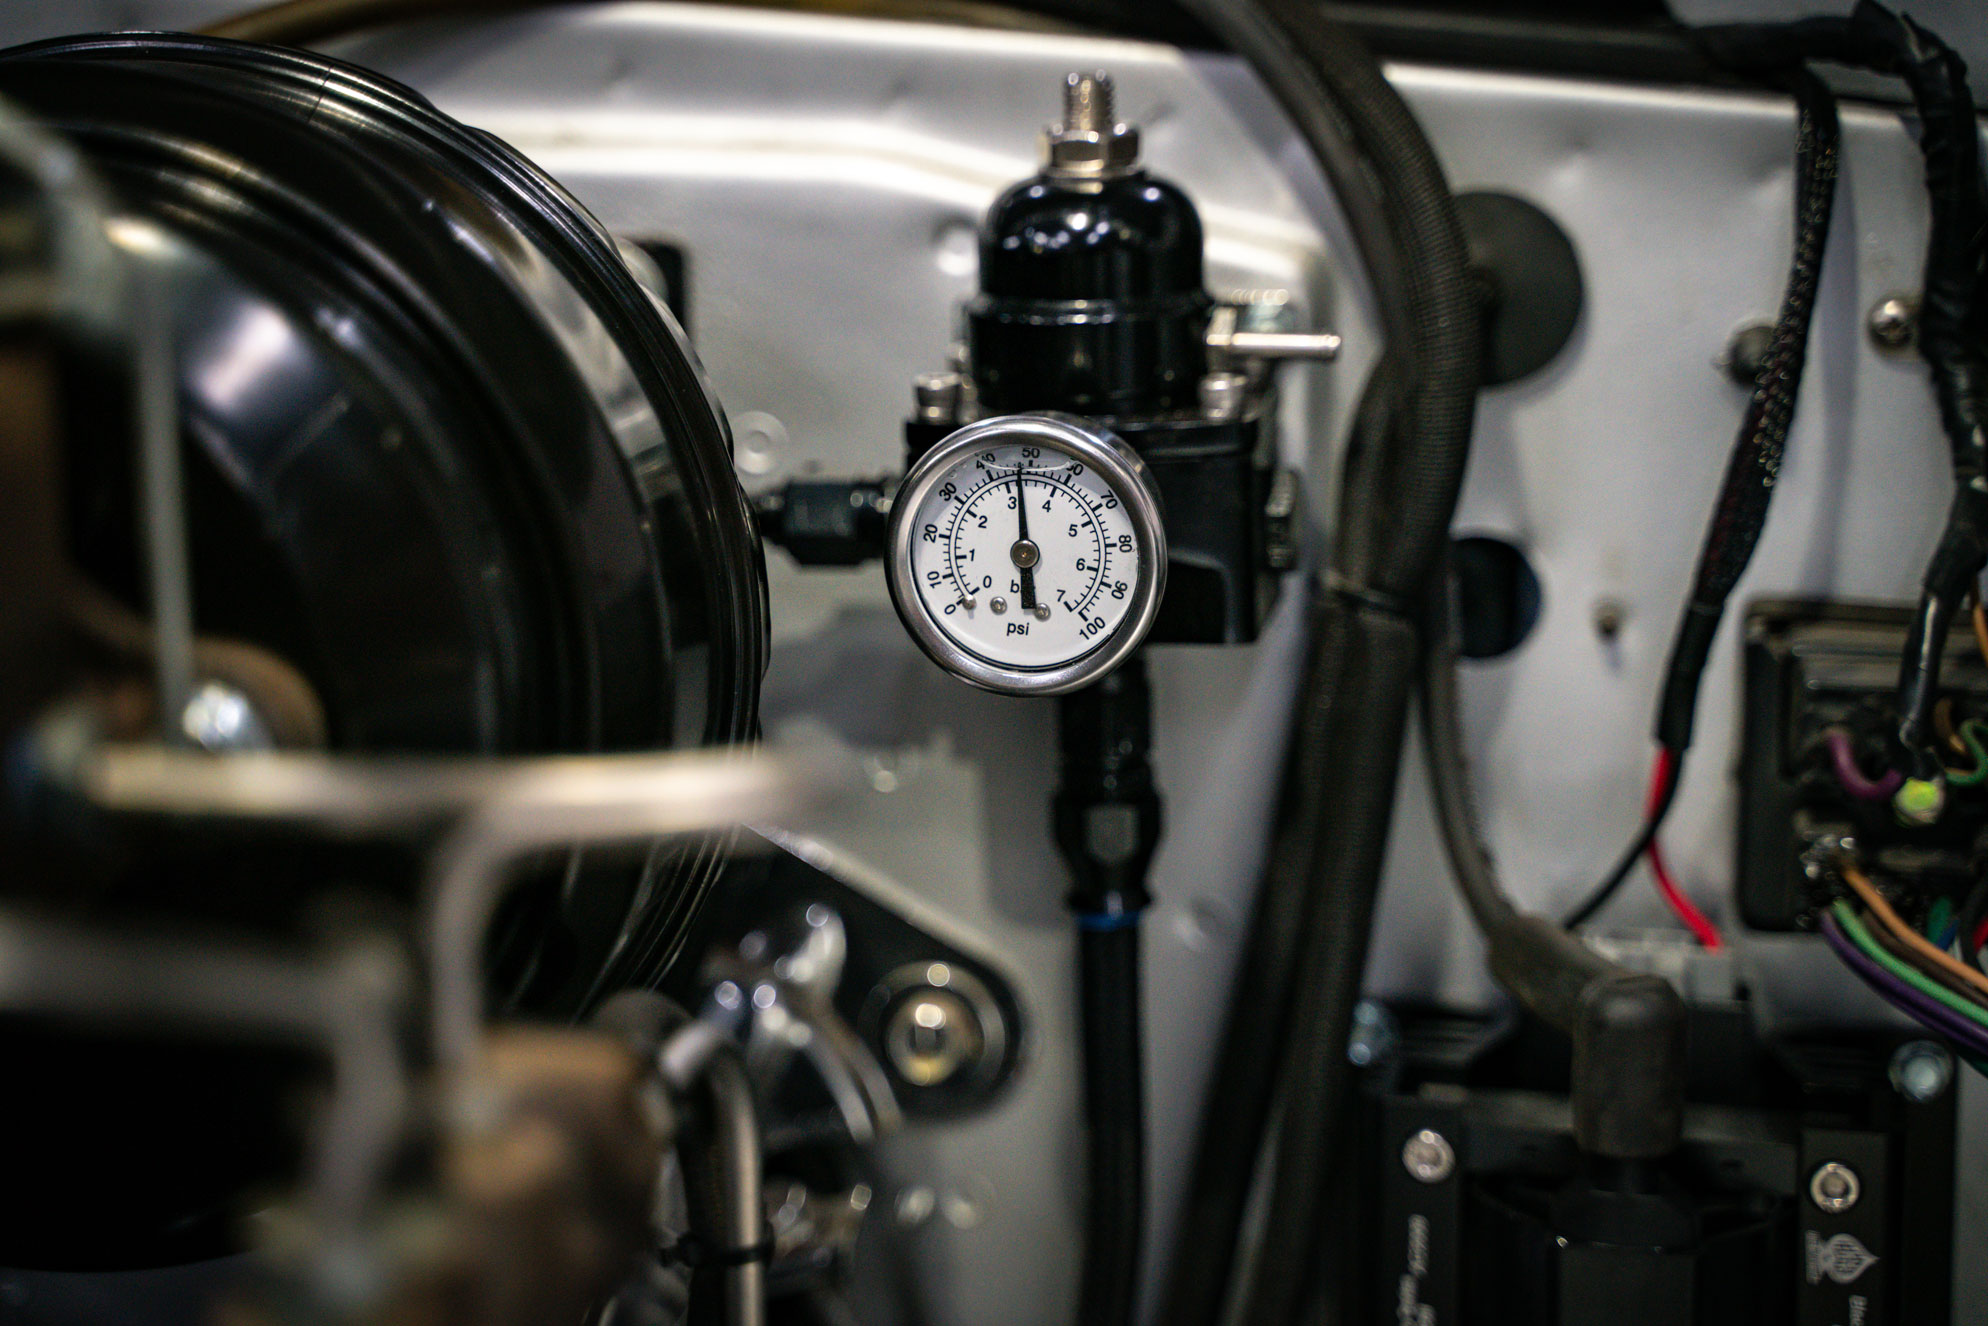
Fuel pressure is another detail you don’t want to overlook. Our regulator initially showed around 80 psi while our calibration was configured considerably lower. We ultimately configured our combination around 60 psi and adjusted the regulator to match. The important lesson isn’t necessarily the exact pressure we used; it’s that the actual fuel pressure and the value the EFI system expects need to agree. Don’t assume the regulator is set correctly out of the box. Verify it.
Electrical & Ignition
Wiring an Old Truck for Modern EFI
This is where a multimeter becomes one of the most valuable tools in the garage. Don’t assume an old wire does what you think it does just because that’s what it was supposed to do when the truck was built. Verify constant power, switched ignition power and, importantly, whether the required ignition circuit maintains power while the engine is cranking.
It’s also important to understand that the Fusion can be configured for different types of ignition systems. With no ECU timing control, the Fusion needs an RPM signal but isn’t controlling ignition timing. That signal can come from the negative side of the coil on an appropriate conventional ignition or from the tach output of a compatible CDI ignition box. You still set and control ignition timing through the distributor just as you normally would.
With ECU-controlled timing, the relationship changes. The Fusion isn’t simply watching engine speed anymore; it’s actively controlling when the ignition event occurs. A compatible distributor provides the ECU with the engine-position information it needs, while the ECU commands the ignition event. Mechanical and vacuum advance need to be eliminated or locked out as required by the system so the distributor and ECU aren’t both trying to control timing.
A CDI, or capacitive-discharge ignition, box is another configuration you may encounter. Rather than using coil negative as the RPM source, a CDI system typically provides a dedicated tach-output signal for the EFI system. That’s why selecting the correct ignition type in the startup wizard matters—the ECU needs to know where its RPM information is coming from and whether it is simply monitoring ignition or actually controlling it.
Our two trucks demonstrated that difference perfectly. Cujo retained a stock-style distributor arrangement where we used a coil-negative tach signal, while Lowla used an ACES Gambler distributor and coil arrangement with ECU timing control. When I initially configured Lowla, I carried over the ignition thinking from Cujo and selected the wrong setup.
The engine cranked but wouldn’t start.
Instead of changing parts, we went back through the startup wizard and compared the settings against the hardware actually installed. Once we corrected the ignition configuration, the 327 fired right up.
What We Got Wrong
Getting the Timing Right
Getting Lowla running was one step. Getting the ignition timing properly synchronized was another—and this is where we made one of the more important mistakes of the project.
When we installed the Gambler distributor, we initially positioned the engine at top dead center, or 0 degrees. Our thinking was that because the Fusion was controlling ignition timing through the Gambler distributor, the ECU would take things from there.
Our Assumption
We set it at TDC. We were wrong.
ECU-controlled timing doesn’t eliminate the need to mechanically establish base distributor position. It gives the ECU control from that established reference.
The ECU can control the timing electronically, but it still needs the distributor mechanically synchronized to a known reference point. For our Fusion timing-control configuration, ACES specifies 15 degrees before top dead center. The ECU can’t compensate for a distributor that hasn’t first been mechanically indexed where the system expects it to be.
That distinction is important. ECU-controlled timing doesn’t eliminate the need to mechanically establish base distributor position. It gives the ECU control from that established reference.
As we continued dialing in Lowla, we were experiencing idle and return-to-idle issues, including instances where the engine would come down from higher rpm and die. We went back through the ACES instructions and, with help from ACES, realized where we’d gone wrong: we had initially indexed the engine and distributor at TDC rather than the required 15 degrees BTDC.
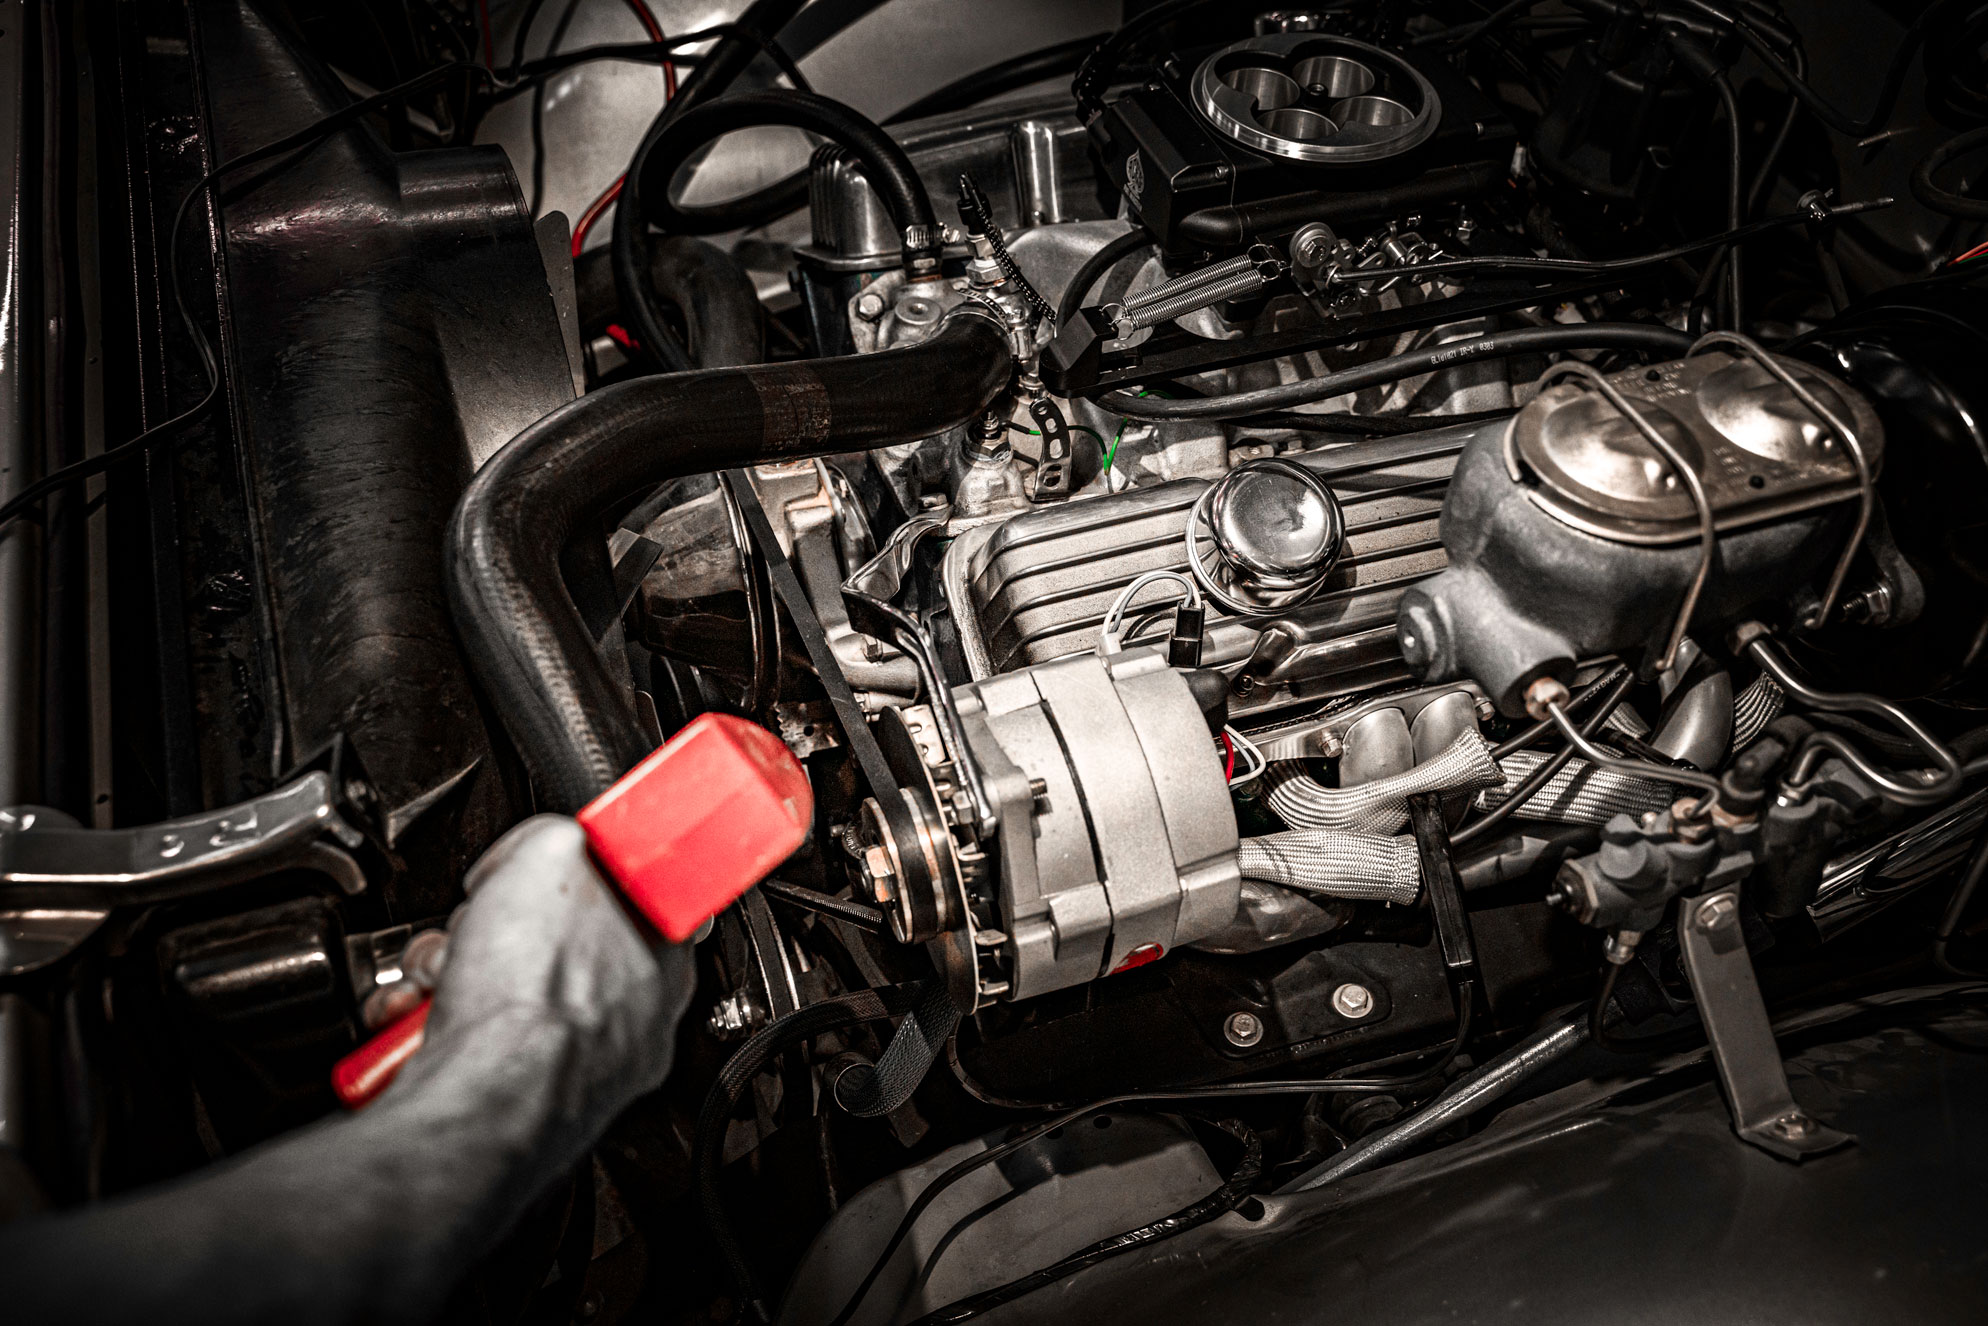
We went back to the truck with a timing light. With the Fusion’s ignition timing locked at 15 degrees through the handheld, we rotated the distributor until the timing mark on the balancer also showed 15 degrees BTDC. Now the ECU’s commanded timing and the engine’s actual mechanical timing agreed.
That correction noticeably improved the way the engine behaved at lower rpm and during deceleration. It didn’t solve our IAC issue completely—that would eventually lead us to the leaking brake booster—but it eliminated an important variable and got the ignition system working from the correct baseline.
It was another reminder of something that became a theme throughout this installation: Modern EFI can control an incredible amount, but you still have to give it the correct mechanical starting point.
The Problem That Wasn’t an EFI Problem
Chasing an IAC Problem
Once Lowla was running and driving well on the baseline calibration, we wanted to refine things. Our target hot idle was 850 rpm, and we started working with idle control, deceleration behavior and particularly the IAC, or Idle Air Control, position.
That’s where we hit a wall.
Our IAC kept settling around 5.
We adjusted it.
Still 5.
We went back through the tune.
Still 5.
Yet the other information wasn’t pointing toward an obvious fueling problem. AFR, MAP and fuel-trim data were generally where we expected them, although we had experienced occasional stalling as the engine returned from higher rpm. Instead of continuing to throw tuning changes at the problem, we went back through the installation from the beginning.
Reviewing the instructions again led us back to ignition timing. For our configuration, the distributor needed to be synchronized at 15 degrees before top dead center, and ours wasn’t. We grabbed the timing light, corrected the distributor position and verified it mechanically. That improved the low-idle behavior considerably, but the IAC was still telling us something wasn’t right.
So we listened to it.
Instead of asking why the Fusion wouldn’t let us raise the IAC, we started asking why the engine was getting so much air with the IAC nearly closed.
That sent us looking for a vacuum leak.
We began isolating vacuum circuits instead of changing the tune. When we pinched off the vacuum supply, the IAC immediately jumped dramatically. Now we were getting somewhere.
We reset the throttle opening, capped the vacuum connection and brought the engine to operating temperature. With the external vacuum sources isolated, we could adjust the IAC normally and get it around 20. Then we reintroduced the vacuum circuits one at a time.
PCV connected? The IAC dropped some, but remained controllable.
Brake booster connected? Straight back to 5, and adjustment could no longer bring it where we wanted it.
There was our problem.
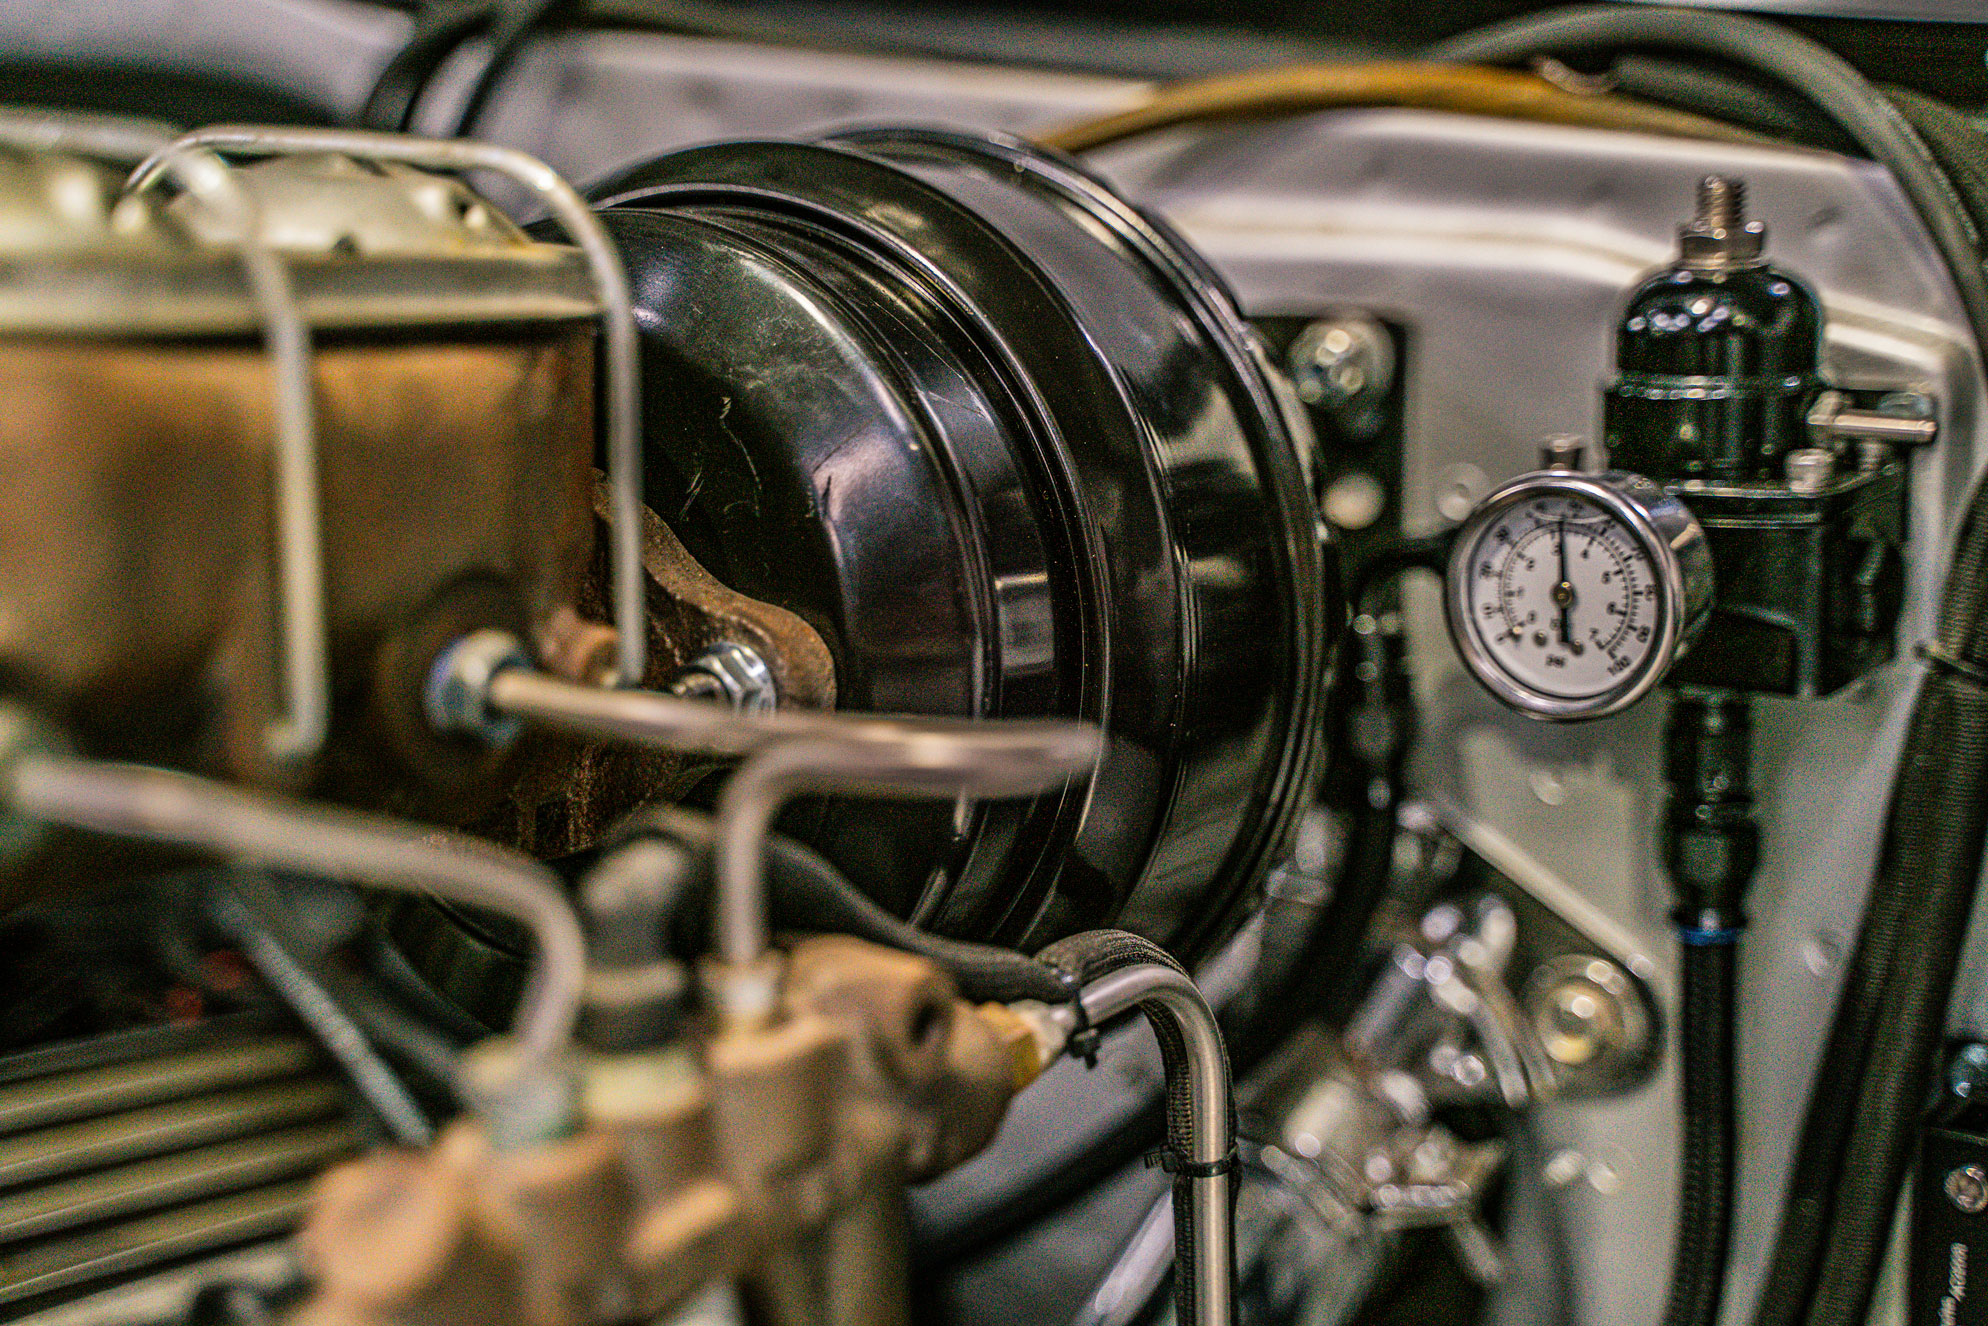
The brake booster had been sitting for more than a decade and was leaking vacuum internally. We replaced it, reconnected everything and started Lowla again. The difference was immediate. The IAC settled around 20–22 at operating temperature, our target idle remained at 850 rpm, and after revving the engine, rpm returned smoothly to target without dropping excessively or threatening to stall.
The Bigger Lesson
The Fusion wasn’t creating the problem. It helped us find it.
The data led us to a problem already hiding in a nearly 60-year-old truck.
Dialing It In
Getting the Idle Dialed In
During all that troubleshooting, I wanted a repeatable mechanical starting point rather than continuing to guess where the throttle-stop screw had ended up.
With the engine off, I backed the throttle screw completely away from the throttle stop, then slowly turned it inward until it just touched. I marked the screw with a permanent marker and turned it approximately 1½ turns farther in. The mark made it easy to count each revolution accurately and gave us a known starting point.
When the engine restarted, idle was high—roughly 1,200–1,700 rpm during our testing. Don’t immediately panic when that happens. Get the engine fully up to operating temperature before trying to dial in the final idle.
As we adjusted the throttle opening, IAC position increased while engine speed came down toward our 850-rpm target. Eventually we landed around 20–22 IAC at temperature, which worked extremely well for our combination. After a rev, the engine would come back down without falling through the target and settle nicely around 850 rpm.
There’s another important step whenever you change the mechanical throttle position: reset the TPS.
The ECU needs to know where closed throttle actually is. After making throttle-stop adjustments, shut the engine off and perform the TPS Zero Learn procedure before continuing. Skipping that step can leave you chasing IAC behavior that doesn’t make sense because the ECU isn’t recognizing the throttle position correctly.
The Bigger Picture
EFI Makes the Entire Truck Part of the System
One of the biggest things we learned is that an EFI conversion shouldn’t be treated as an isolated component installation. You’re putting modern engine management on a truck that may have 40, 50 or even 60 years of history behind it.
Look at the whole vehicle. Check the plugs and wires. Verify ignition timing. Check grounds and electrical connections. Inspect every vacuum hose. Verify the PCV system and brake booster. Check for exhaust leaks around the O2 sensor and verify fuel pressure.
The wideband O2 sensor deserves particular attention because it’s one of the ECU’s primary sources of information. Install it in the correct position and orientation according to ACES’ instructions, and make sure exhaust leaks aren’t allowing outside oxygen to influence its readings. Bad information going into the ECU can lead you toward changes the engine never needed in the first place.
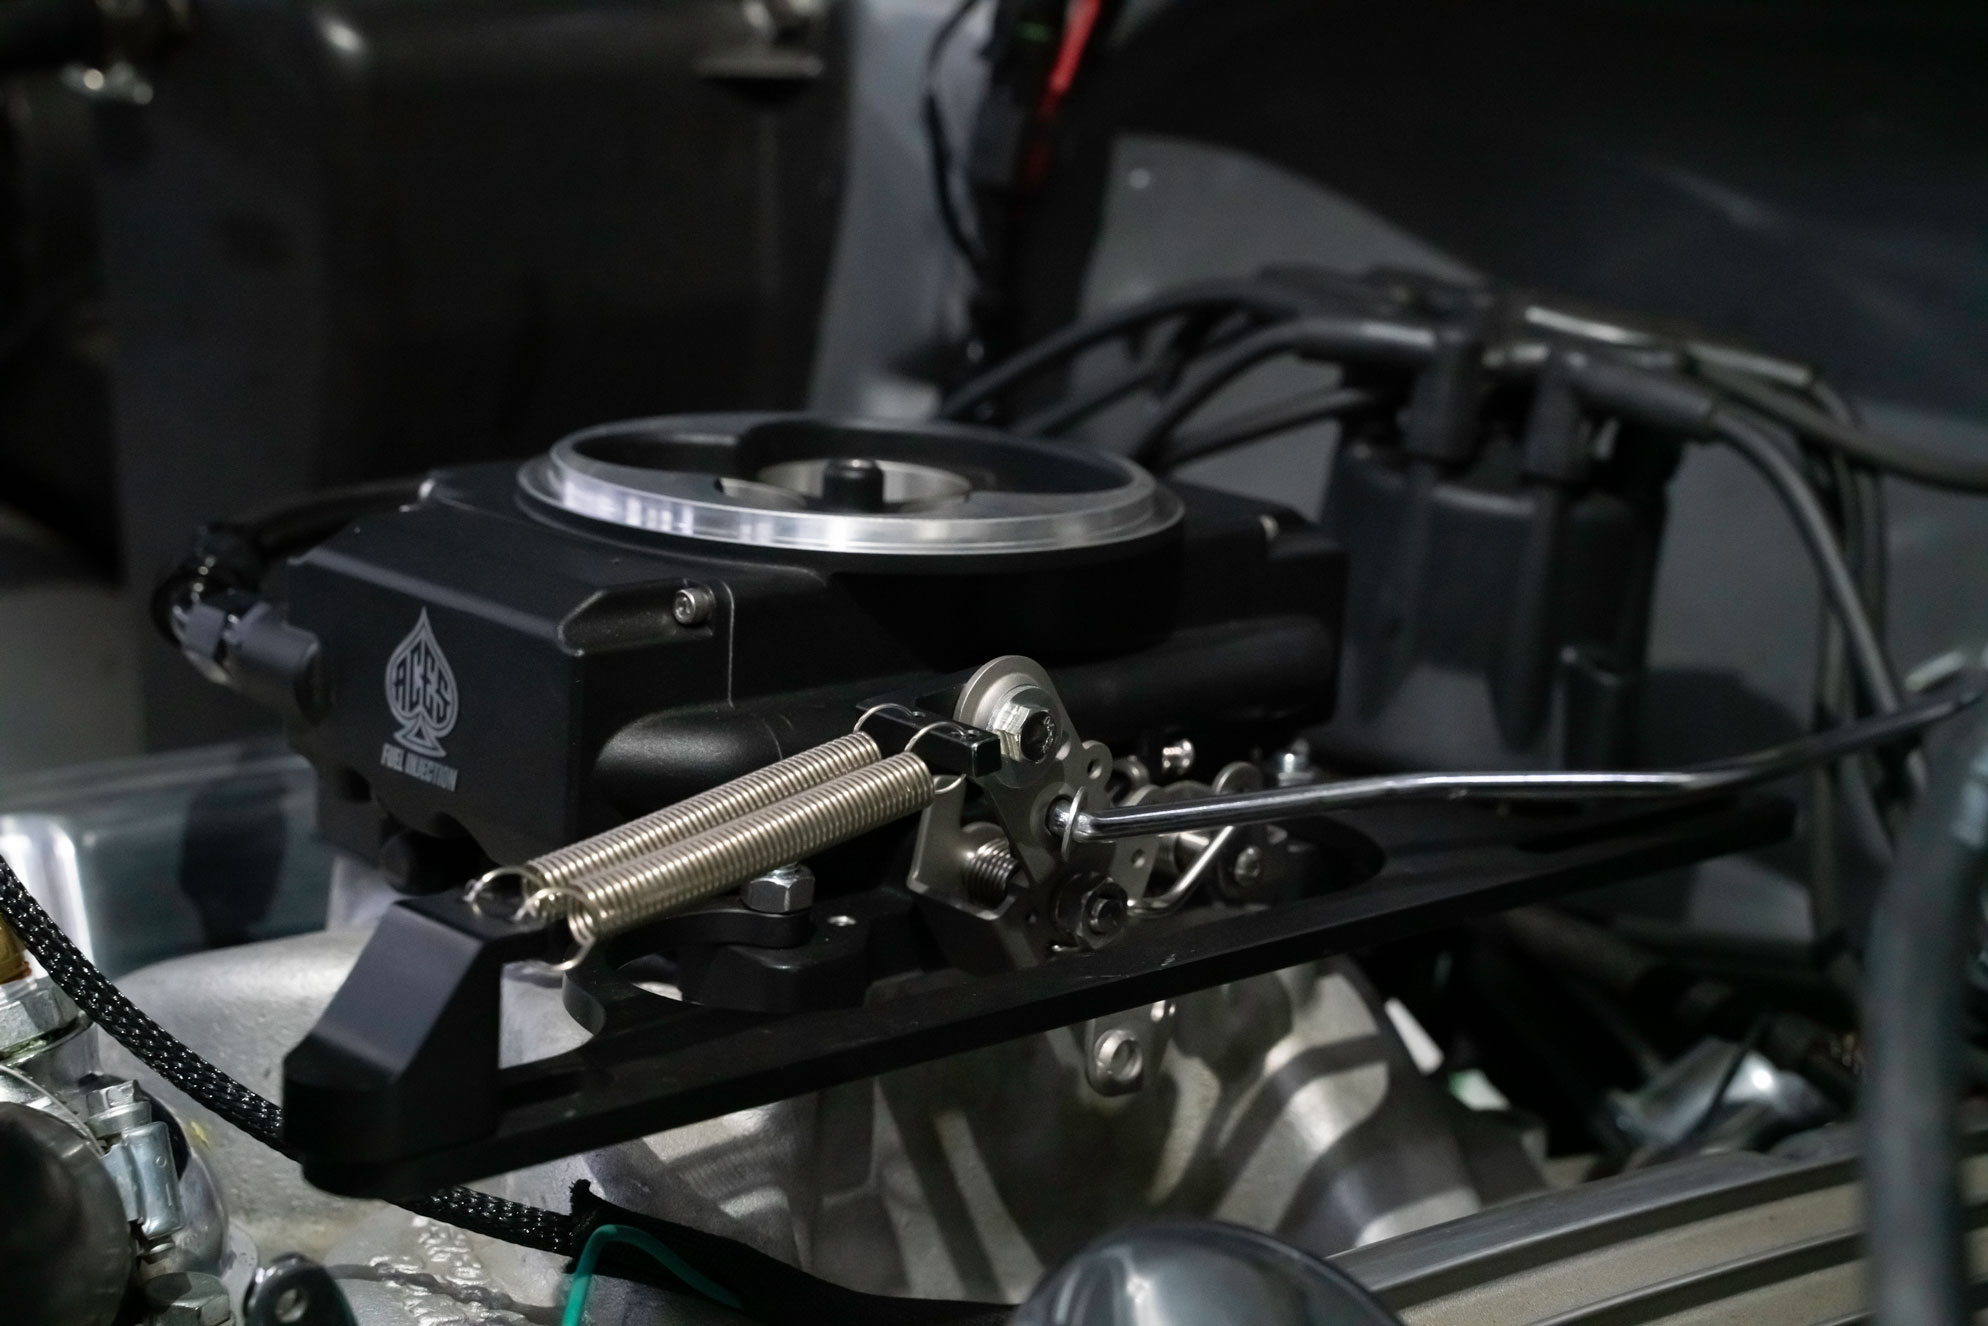
Throttle linkage matters too. Use proper bracketry and return springs so the throttle blades return consistently to the same position every time you release the pedal. A binding cable, incorrect bracket or poor return-spring arrangement can create idle problems that tuning won’t properly fix. ACES’ bracketry worked great for our installation and provided a clean way to set up the linkage and return springs.
On an automatic application such as Cujo, there’s another major consideration: the 700R4 TV cable. It shouldn’t be thought of as simply a kickdown cable. Its adjustment and geometry affect transmission operation and line pressure, and getting that geometry wrong can cause poor shifting and potentially transmission damage. We used a LOKAR universal throttle-cable setup along with the appropriate 700R4-specific TV cable and bracketry to maintain the proper relationship between throttle movement and transmission operation.
More Than Fuel Injection
More Than Just Fuel Injection
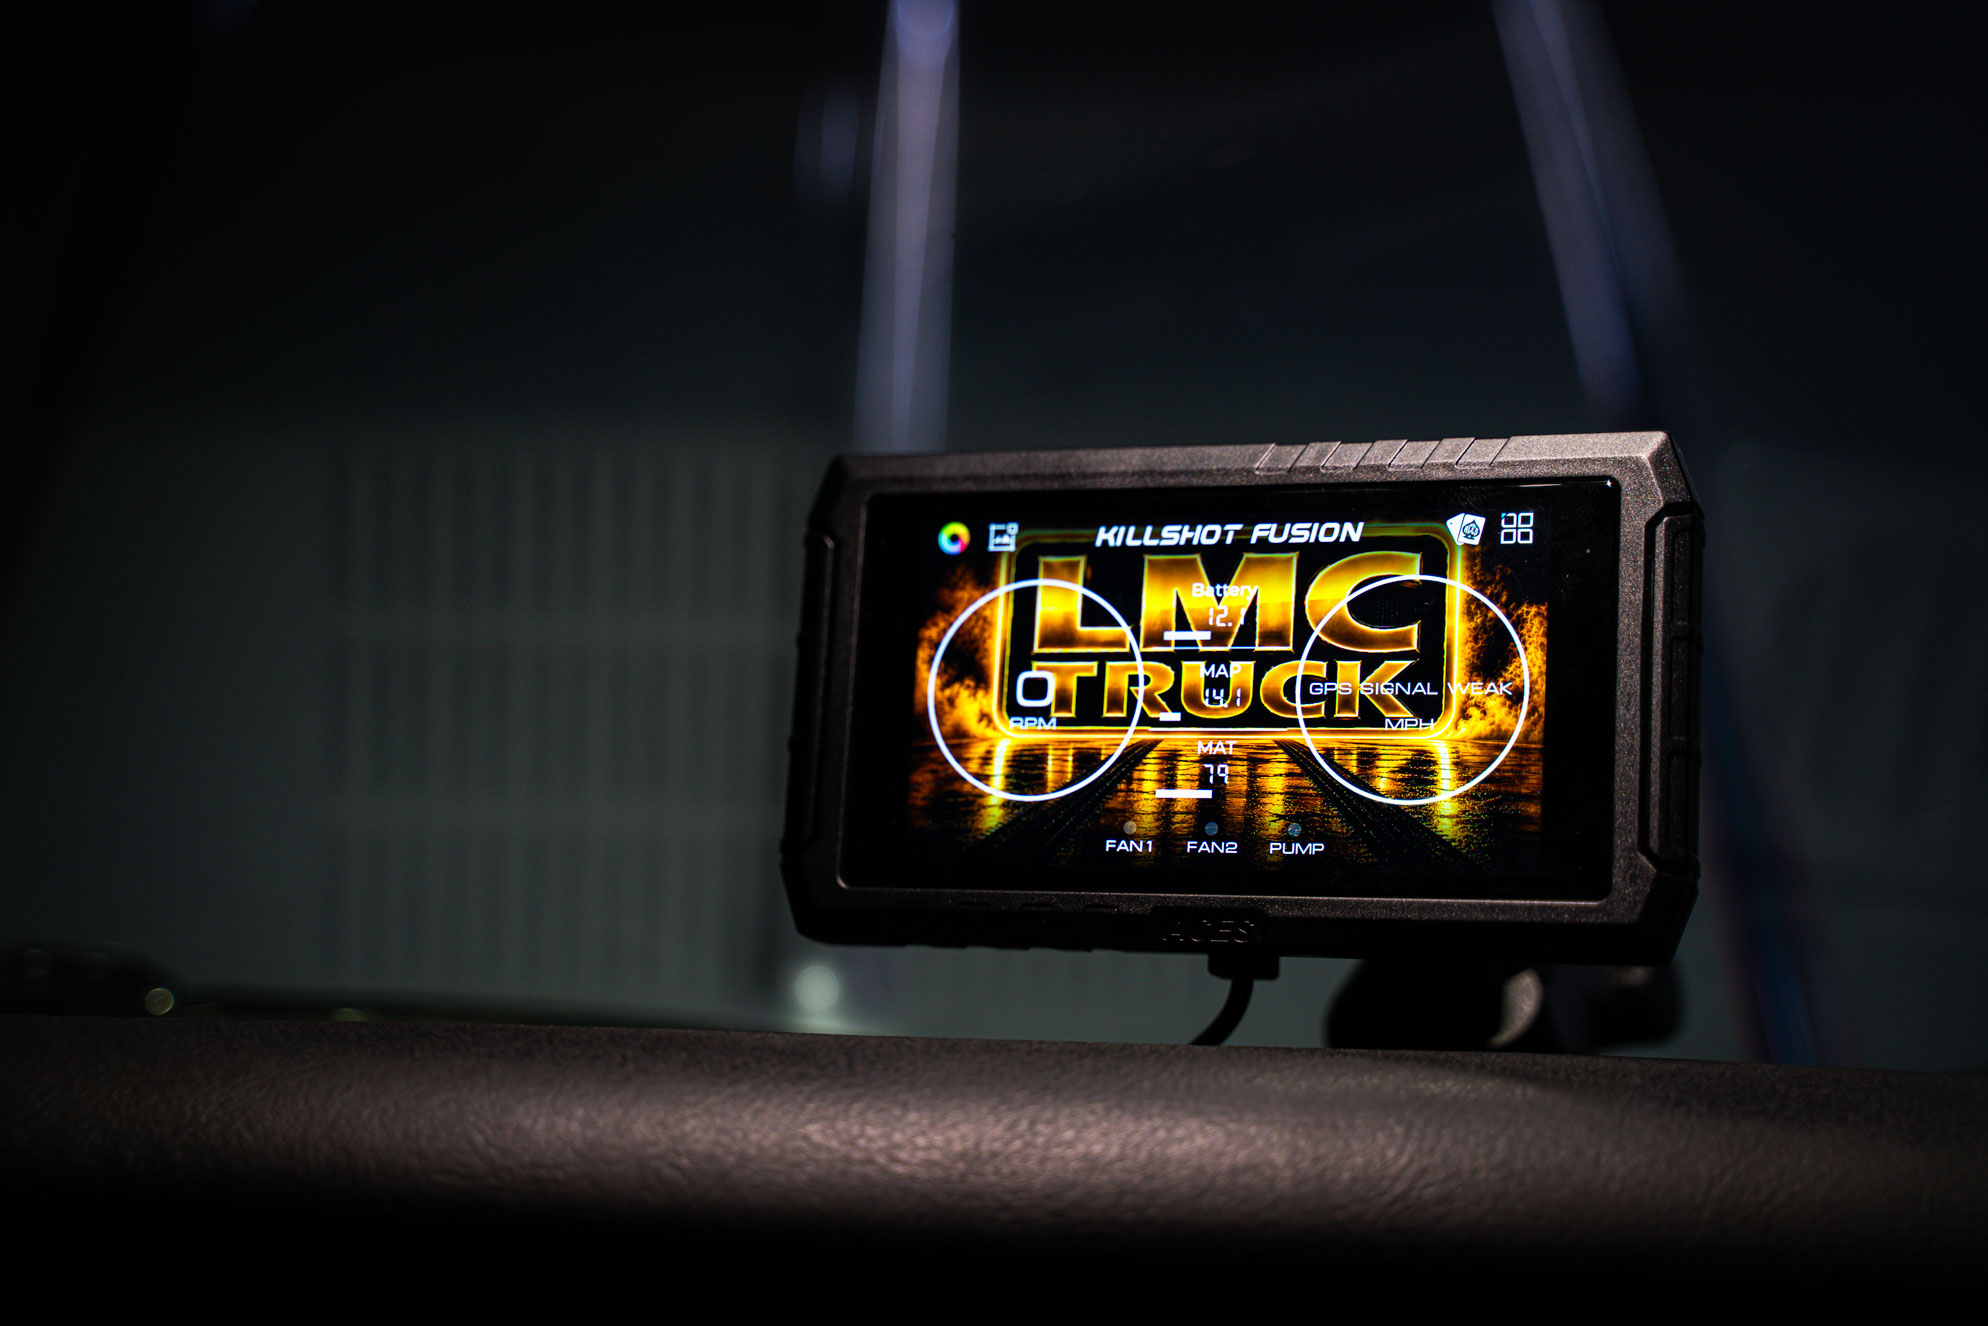
There’s also more versatility built into the Fusion than simply controlling fuel. Depending on your configuration, the system can integrate things such as electric-fan control, ignition components, tach signals, oil-pressure information and other functions.
The display itself can even be customized. Want your truck on the screen? Put it there. Your company logo? Your family? Your dog?
Or your cats—because everybody loves cats.
It’s a small feature, but that’s part of building a custom truck. You’ve spent years making everything else yours. Your EFI screen might as well be yours too.
What This Installation Taught Us
What This Installation Taught Us
If we were starting another Fusion installation tomorrow, we’d approach it with one major lesson in mind: establish the mechanical baseline before digging deep into the tune.
Verify the engine itself. Verify fuel pressure. Check the wiring and grounds. Confirm the ignition configuration and timing. Check for vacuum leaks. Verify TPS. Get the engine completely warm. Then look at the IAC and begin making adjustments.
Most importantly, don’t start randomly plugging numbers into the tune because something doesn’t look right. Read the instructions. Use ACES’ documentation and support resources. Look at what the sensors are actually telling you. Tools like ChatGPT can help interpret data and point toward things worth checking, but specifications and procedures should always be verified against current ACES information.
Modern EFI is incredibly capable, but it still depends on the engine and vehicle around it being mechanically sound. In our case, that capability didn’t just get a 327 running on fuel injection—it helped us identify problems elsewhere in a nearly 60-year-old truck.
Keeping Generations on the Road
Keeping Generations on the Road
Lowla is still a 1967 C10. There’s still a small-block 327 under the hood. There’s still a four-speed transmission. It still sounds, feels and drives like an old Chevrolet truck.
But now there’s modern engine management helping that old small-block do its job.
The ACES Killshot Fusion gives classic-truck owners another way to combine the character of an old truck with the drivability, monitoring and versatility of modern EFI. That’s exactly the kind of combination that can make these trucks easier to enjoy and keep them out on the road.
At LMC Truck, our mission is Keeping Generations on the Road.
Sometimes that means restoring a truck exactly as it left the factory. Other times, it means adding the right modern technology to make an old truck easier to start, easier to drive and more enjoyable to own.
It’s keeping it running long enough for the next generation to turn the key.